Configure Servers
This section describes how to configure Cybereason On-Prem servers in production and POC environments. To configure your servers during installation, you use the Configuration management server.
In this topic:
Access the Configuration management server
In a web browser, type the IP address of the Configuration management server on port 443. For example:
https://x.x.x.x.The Cybereason On-Prem Installer opens.
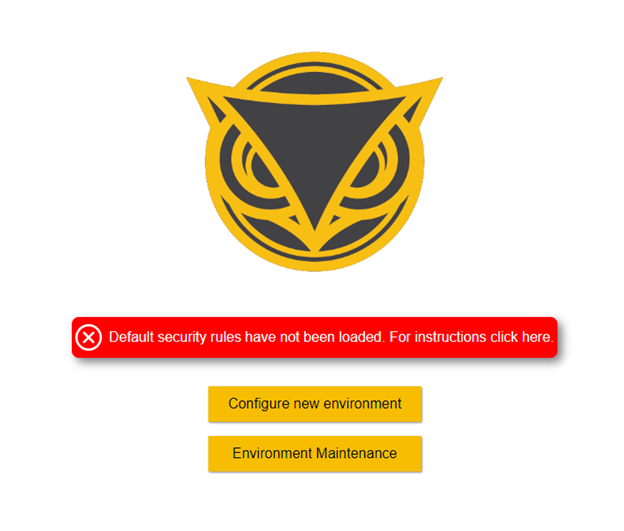
Click Configure new environment.
Upload server configuration file
In the Upload Server_Configuration.csv file screen, click Choose file, navigate to your Server_Configuration.csv or Server_Configuration_POC.csv file, and click Open.
The file name is visible to the right of the Select file button.
Verify that you selected the correct file and click Upload.
The Verify Server_Configuration.csv file content screen displays the CSV file fields.
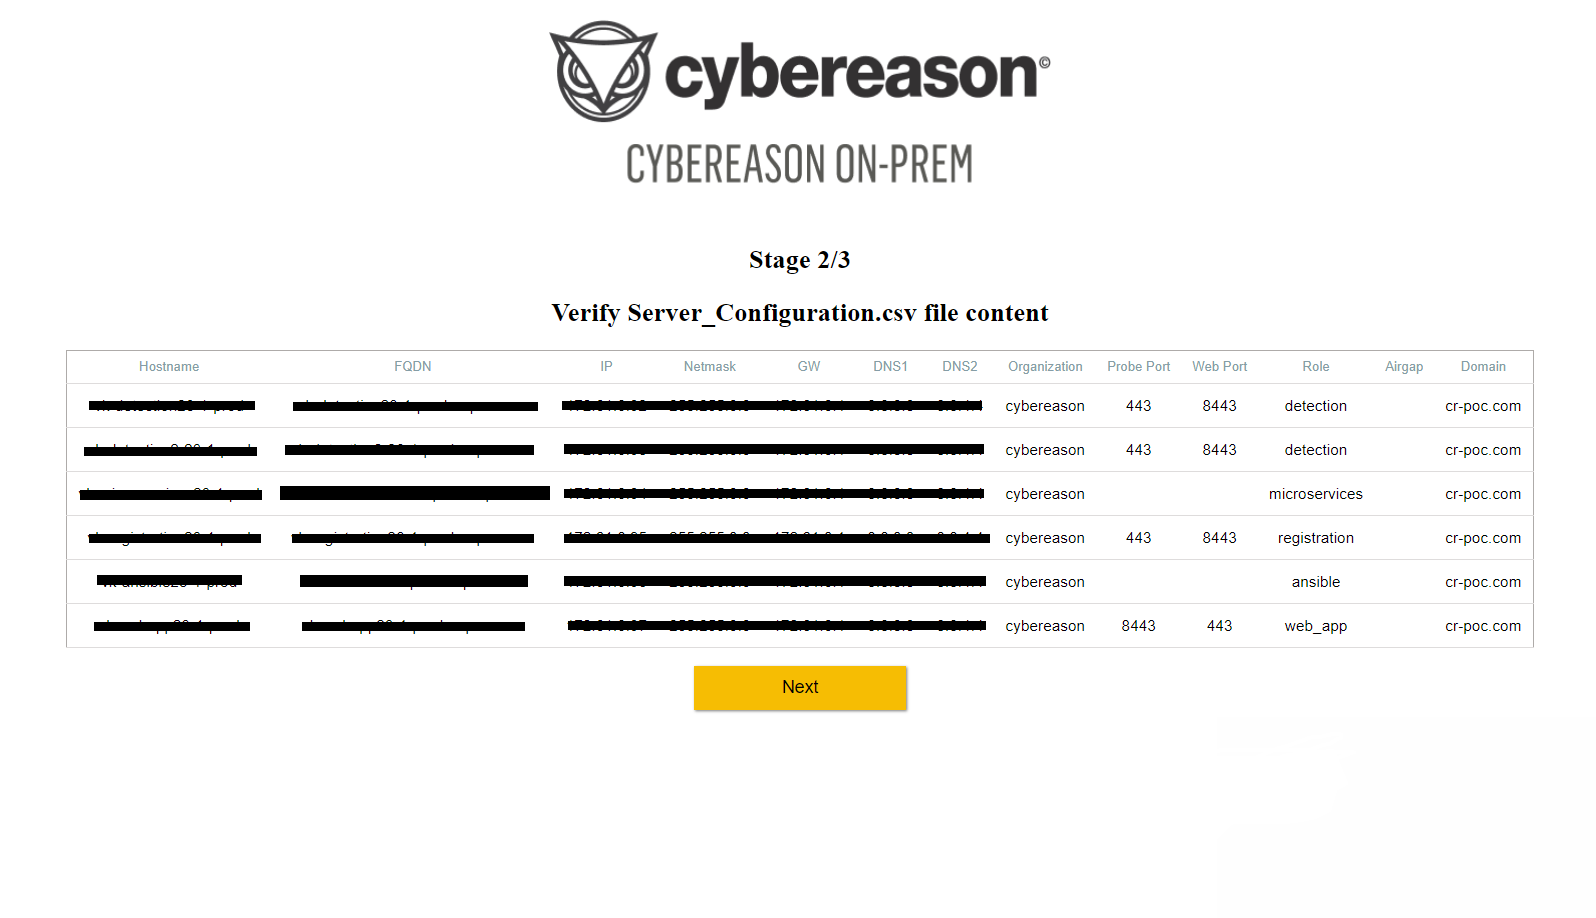
Review that the fields are filled in correctly and perform one of the following:
If there are mistakes to correct, click Return to the main page, correct mistakes in the CSV, and repeat the steps in this section. Only if the file was edited and reuploaded, make sure ‘/data/upload/vmlist’ under the CFG-MGMT contains only 1 file.
If there are no mistakes in the fields, click Next.
The Configure the environment screen opens.

Enable select features
In version 23.1, the following features are enabled by default:
File Events
Registry Events
Endpoint Controls
File search (server side only)
Self Protect
See Feature Manager for a description of available options.
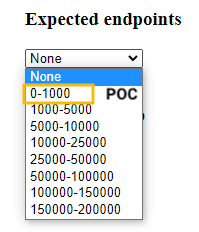
Specify expected endpoints
Under Expected endpoints, select the range that matches the number of sensors in your environment.
For POC deployments, select the 0-1000 range (this is the supported range for POC deployments).
Configure Docker networks
Cybereason uses Docker0 as a bridge for all virtual machine communication. If you have servers in your environment with the same IP addresses as the ones Cybereason sets for Docker0, you may experience network conflicts.
To view the default Docker networks and make changes, select Docker networks.
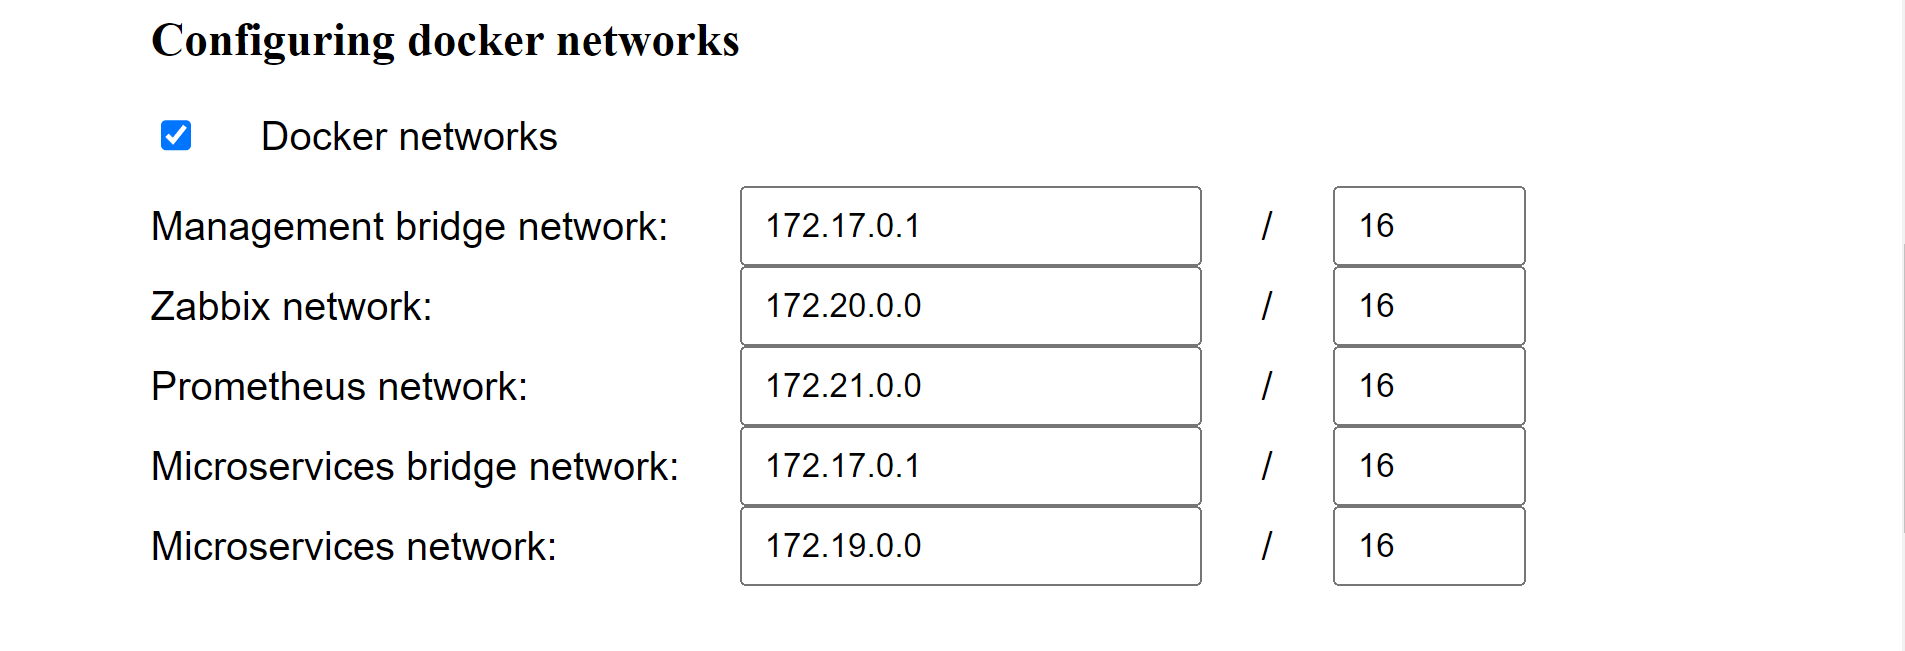
The following table describes the different Docker networks.
Docker network |
Purpose |
Default address |
|---|---|---|
Management bridge |
For Registry and Consul Docker containers |
172.17.0.1/16 |
Zabbix |
For all Zabbix Docker containers |
172.20.0.0/16 |
Prometheus |
For all Prometheus docker containers |
172.21.0.0/16 |
Microservices bridge |
172.17.0.1/16 |
|
Microservices |
For all microservices |
172.19.0.0/16 |
If you need to set different subnet IP addresses for a server, you can choose any IP address that is compatible with your network subnetting calculation, however, it is important that the addresses you select are:
Not the same as the Docker0 IP, which is 172.17.0.1/16.
All different from each other.
Note
The Zabbix, Prometheus, and Management bridge networks are on the Configuration management server, and the Microservices and Microservices bridge networks are on the Microservices server. Make sure to assign different addresses to the Microservices that reside on the same server.
If you are using one of these networks as an external network, and cannot replace it with another network, contact Technical Support to change the network to avoid network conflicts.
Replace certificates
If you want to replace the certificate for communication between sensors and the Detection and Registration servers, under the Install Certificates area, select the Replace sensor certificate checkbox. Click Choose file and upload your certificate. This feature will replace the globa.jks certificate for all Detection servers and the Registration server. It is relevant for wildcard certificates - for other scenarios you will need to replace the file manually.
If you want to replace the WebApp server certificate used for the UI connection, select the Replace WebApp server certificate checkbox, click Choose file, and upload your certificate.
Automatic installation procedures
Note
Make sure to click the Install button only once. Backend flows are executed immediately as the button is pressed, and double clicking the button triggers them again unnecessarily. You may need to wait up to 30 seconds for the appearance of the progress bar screen.
After you configure the above items, click Install.
When you click Install, the platform performs the following installation procedures.
Perform port checks
The platform performs port checks to verify that all ports required for installation are open and accessible before installation. This minimizes the chances that deployment will not succeed.
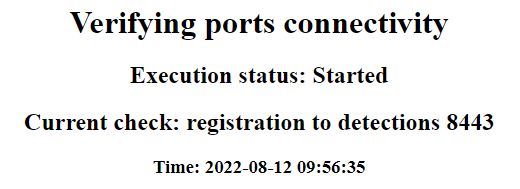
If one or more ports are blocked or inaccessible, the deployment will stop and you will see a prompt that shows the errors and offers resolution options:

Perform sanity checks
When the server configuration is complete, the Sanity Check status screen appears. Cybereason performs automatic sanity checks to verify that the servers are installed and responsive.
Note
The deployment process is logged in /var/log/ansible.log.
Load security rules
After the installation is done and the sanity checks status screen appears with no errors, it is mandatory to load security rules for the 23.1 On-Prem environment.
For more information refer to How to load security rules.