Back Up Your Cybereason On-Prem Environment
Cybereason On-Prem provides backup for the servers involved in your deployment.
In this topic:
You can back up your server data to a Network File System (NFS) share, which allows you to set up mount points on the servers and back up the data on a dedicated NFS server.
When you enable backups, Cybereason On-Prem backs up the following servers:
Registration server
Detection servers
Configuration management server
WebApp server
Microservices server
Run and configure backups
To run or configure backups, click Backup from the Environment maintenance screen, and select one of the following options:
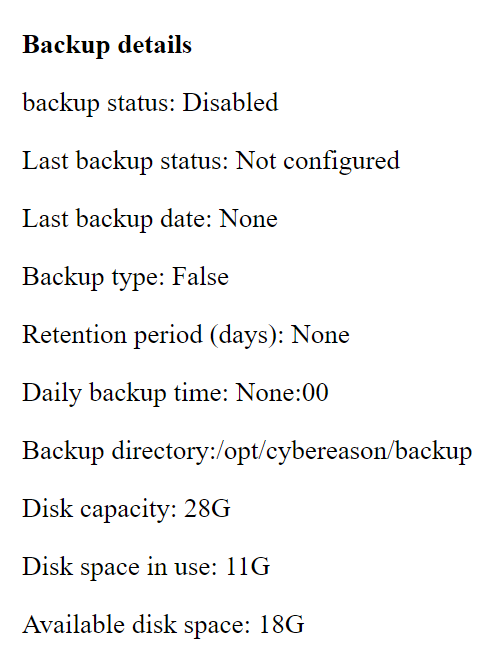
The Backup details area on the bottom left displays information about your environment’s backups, including whether backups are enabled or disabled, the status of the last backup, the defined retention period and backup frequency, the number of currently retained backups, and disk space information.
Define backup destination
Click Define backup destination from the Backup screen, and click Define NFS backup to back up the servers to an NFS share.
Define NFS backup
To back up the servers to an NFS share:
Click Configure NFS backup.
(Optional) To test NFS connectivity before proceeding with the backup mount, click Check NFS.
A successful NFS test result appears:
Step: Done, all serveres are connected to NFS mount.
In the Configure NFS backup screen, click Configure and verify NFS connectivity.
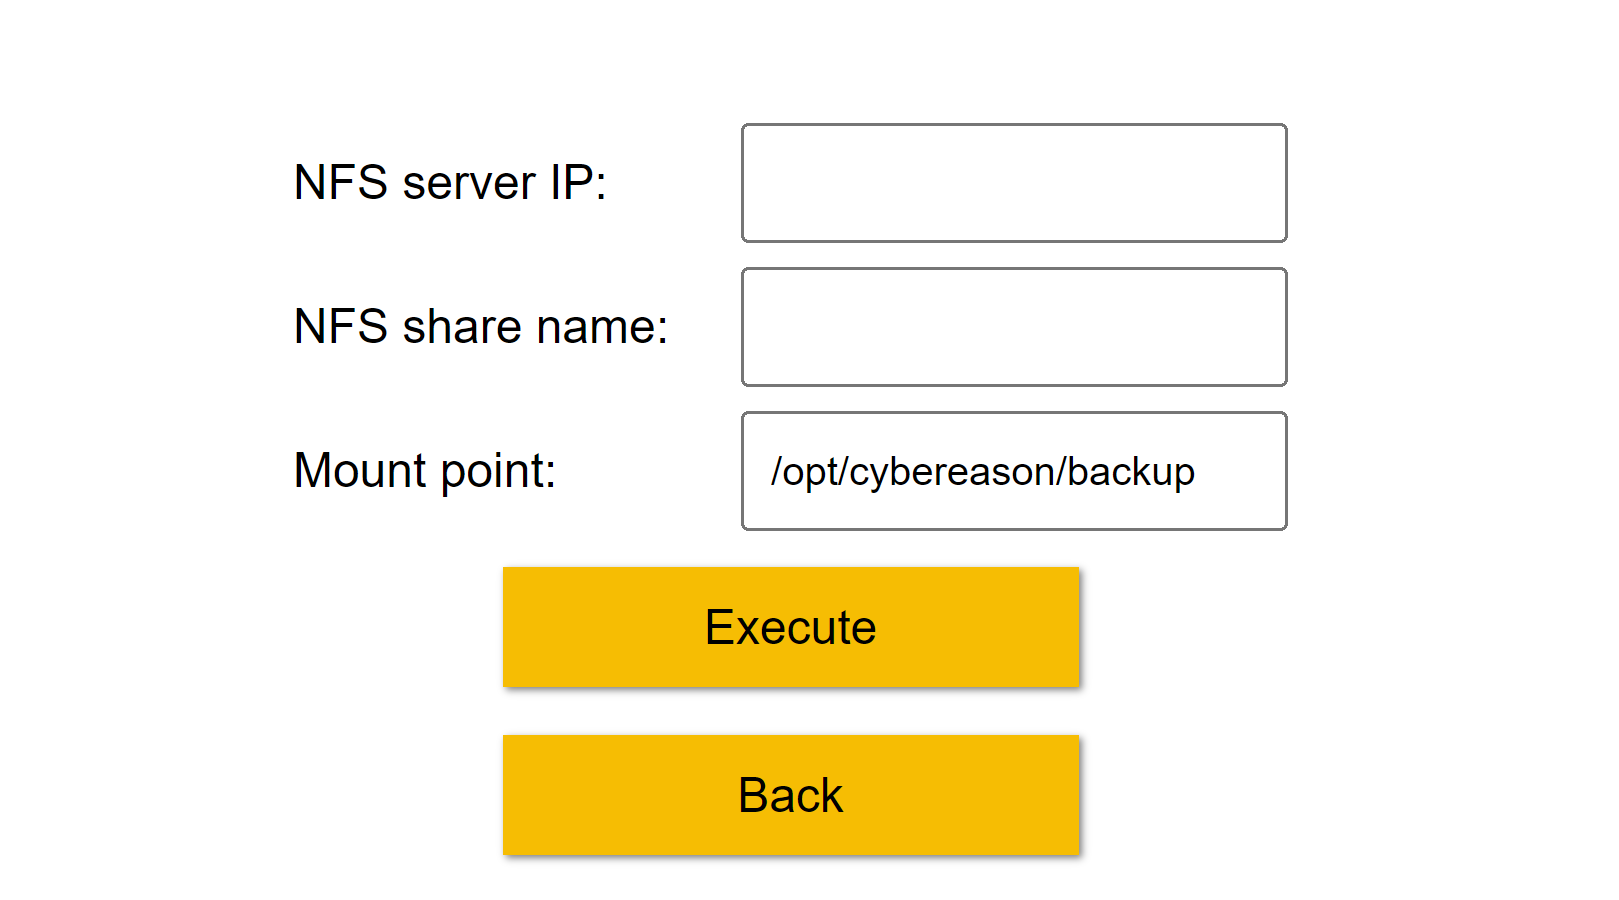
In the Configure and verify NFS connectivity screen, type the NFS server IP, the NFS share name, and the folder path to the mount point. The mount point is the directory to which the NFS share is attached. The default path is /opt/cybereason/backup and this path must be used.
Click Execute.
Cybereason On-Prem sets up a mount point on each of the relevant Cybereason servers. The installer displays the stages of the setup process.
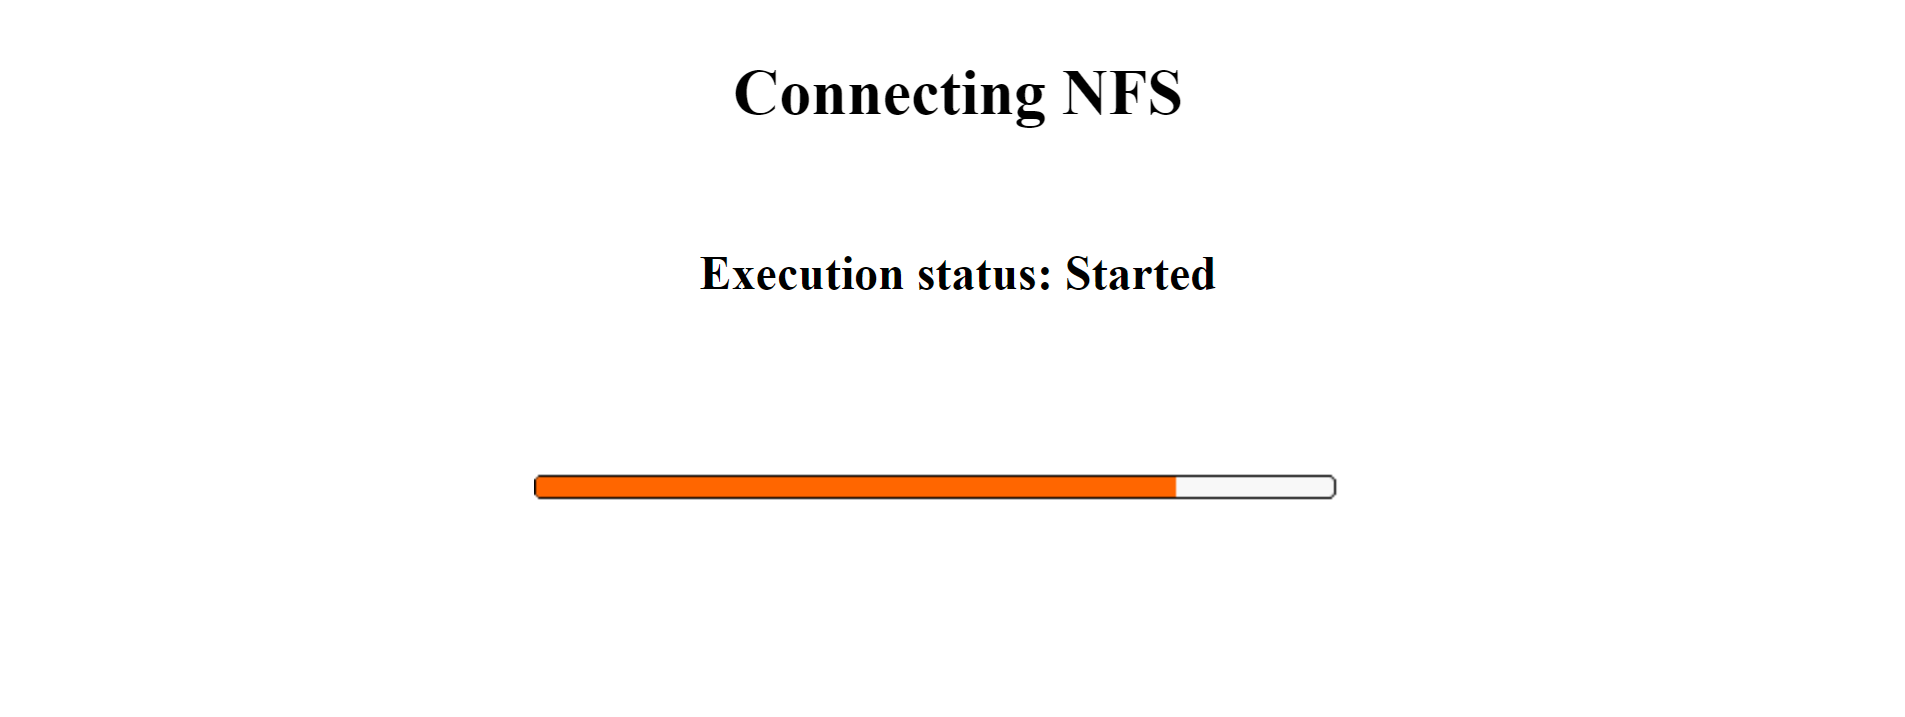
When the setup process is complete, the installer displays a Done message. Each relevant server now includes an NFS mount point, and each mount point can communicate with the NFS server for backup purposes.

Unmount NFS:
In scenarios when the existing mount of the NFS needs to be removed from the Cybereason servers:
From the Backup screen, click Define backup destination.
Click NFS
Click Unmount NFS.
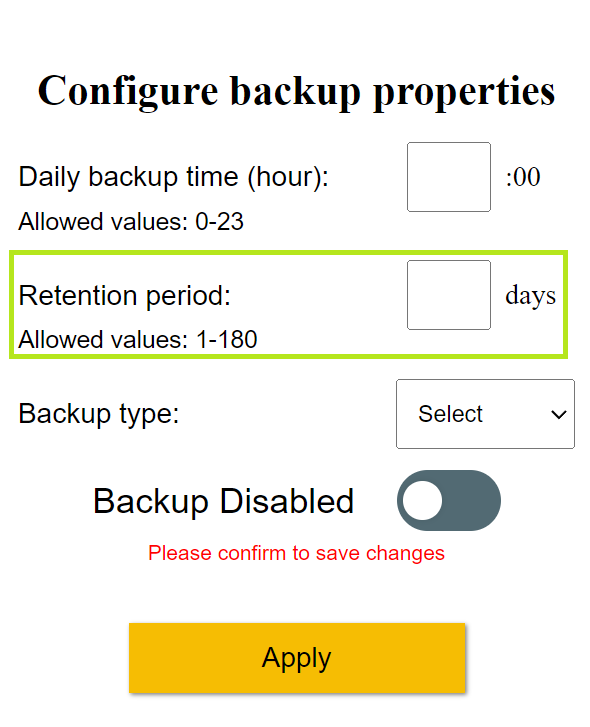
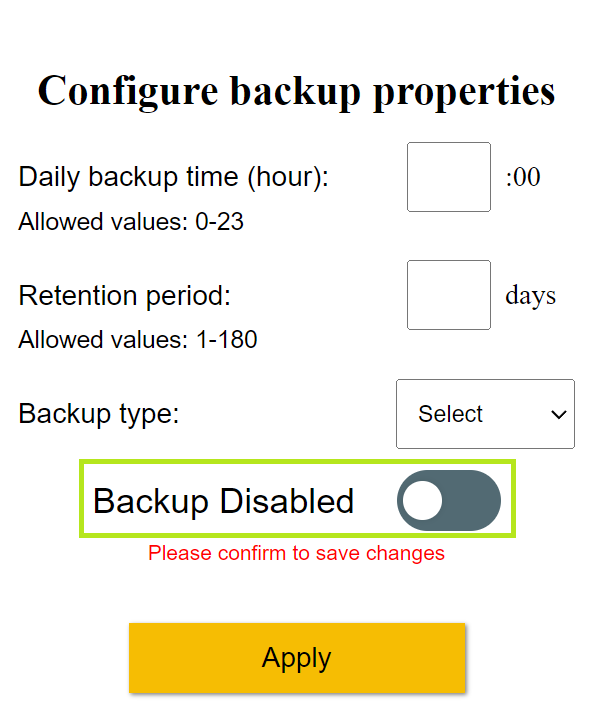
Enable/disable backup and configure backup properties
Click Configure backup properties from the Backup screen.
Set he Daily backup time. It is recommended to define the backup after working hours, for example, 03:00 AM.
Set the Retention period. This setting is related to the number of past backup folders that the user would like to store.
Select the Backup type. An Optimized backup will not take a backup of the RAW data recordings. A Full backup will include the RAW data recording.
Click Apply to save the configuration.
To enable backups in your environment, click the Enable toggle and click Apply.
For example, the following screenshot displays a scenario where full backups are enabled.
Perform a manual backup
To run a backup, click Perform backup, and in the Perform backup screen, click Full backup.
Cybereason On-Prem provides the option to execute a manual full backup of the system. In a situation where a manual full backup is required, it is highly recommended to start the operation during a maintenance window.
After you click Full backup, the installer displays the stages of the backup process.
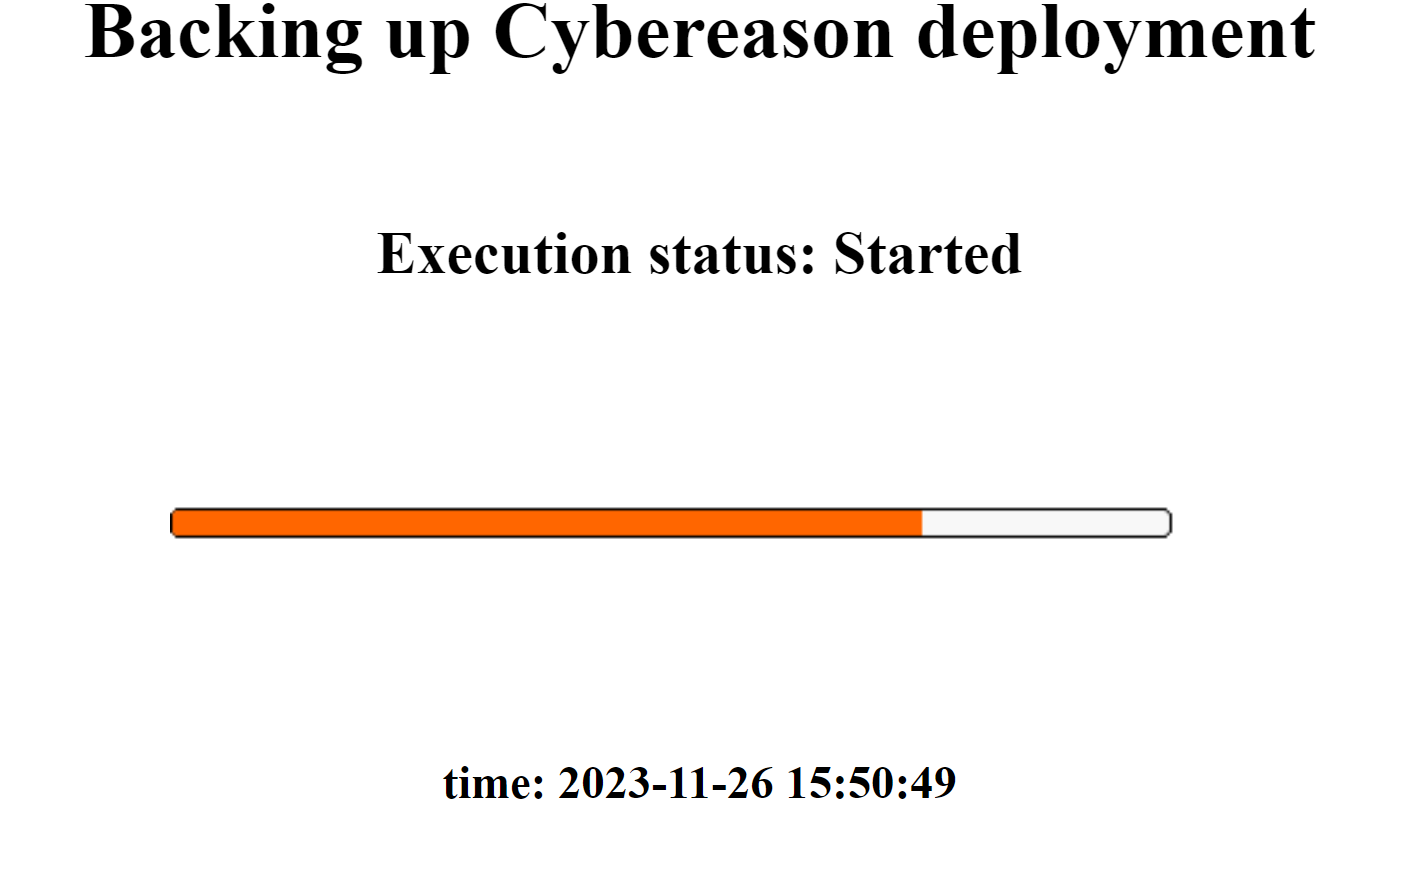
When the setup process is complete, the installer displays a Done message.
Configure backup properties
To configure the retention and frequency settings, click Configure backup properties, and perform one or both of the following:
To define at which time Cybereason On-Prem runs the backup, set the Daily Backup Time. For example 03:00 (AM).
To define how long Cybereason On-Prem retains the backup data, click Configure retention period, and type a number of days between 1 and 180. For example, if you type 7, Cybereason On-Prem retains data for 7 days. The current retention period (days) field displays displays the current retention period, if you previously defined this period during initial deployment.