Add Detection Servers
You can add a new Detection server to your Cybereason On-Prem environment without redeploying the entire environment.
Note
This procedure is supported on MGMT Version 1.1.665 and later. Do not attempt this procedure on earlier versions.
In this topic:
Step 1: Configure Detection server hardware and networking
Option 1 - Manual configuration for network and hardware settings
Use the ‘setip’ script to configure the network settings for the new Detection server. The script is located inside the Detection server template.
Syntax:
/opt/cybereason/setip/setip.py -ip [ip] -netmask [netmask] -dgw [dgw] -dns1 [dns1] -dns2 [dns2]
Go to the new Detection server VM and configure the required hardware settings. Make sure that the hardware settings of the new Detection VM are identical to the existing detection servers.
Option 2 - Use the rollout script for configuration of network and hardware settings
Run the rollout script to deploy the server. This is the same script you use during initial server deployment, but with a few key changes.
Make sure that the hardware settings of the new detection VM are identical to the existing detection servers.
Add the following arguments to the command line prompt. You can use the template below and enter your details:
python onprem_rollout.py -action deploy -vc <your_vcenter_address> -user <user@domain.com> -pwd <your_password> -dc <datacenter_name> -cluster <cluster_name> -templatefolder <template_folder_name> -folder <destination_folder_name> -ad -consul <your_management_server>
After you deploy the server, access the Configuration Management server UI to begin the deployment configuration process.
Step 2: Add the detection server
Note
If Consul access was blocked by consul_rules.py, make sure to open access before starting this process. For more information refer to Security Tools.
In a web browser, type the IP address of the Configuration management server on port 443. For example: https://x.x.x.x.
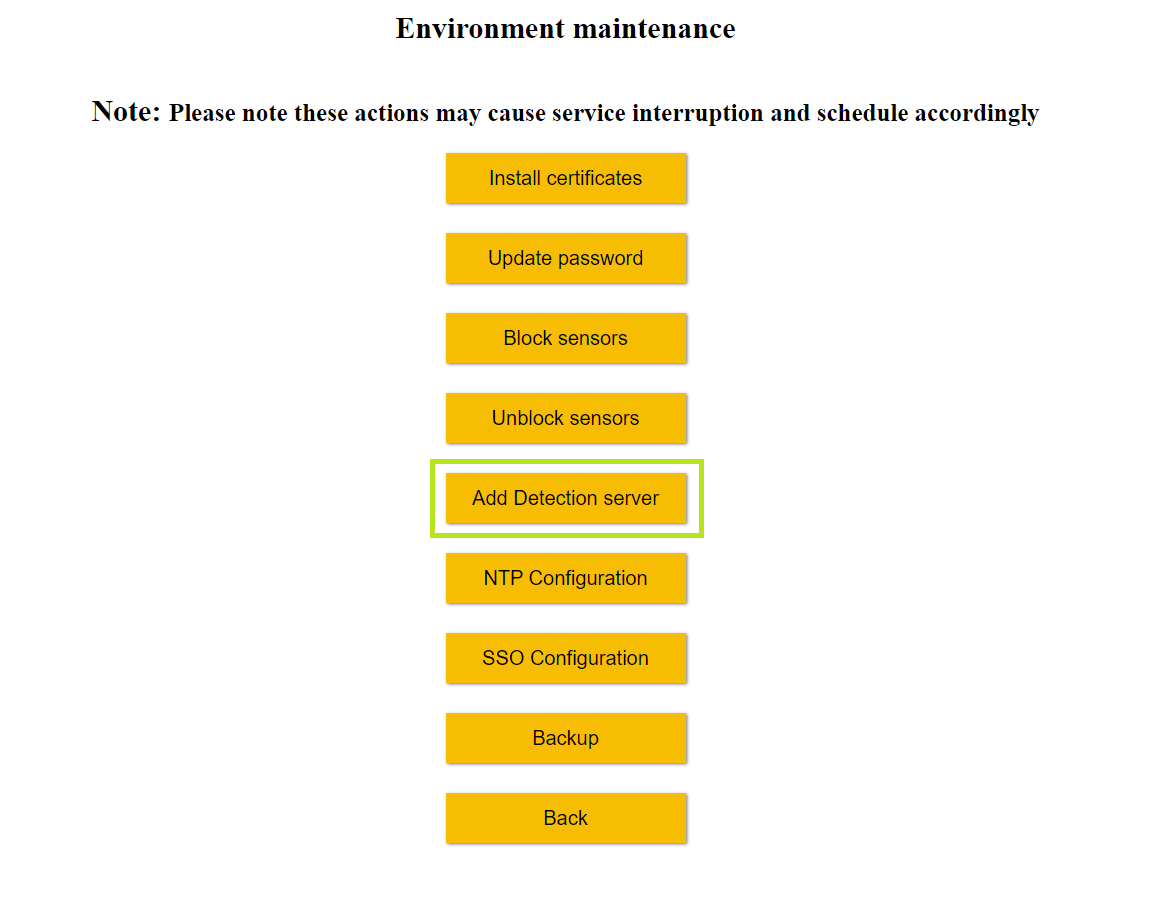
Click Environment Maintenance, and then click Add Detection server.
From the Select Detection server template screen, select an existing server from the drop-down menu. The new server will copy the configuration from the selected server.

After you have selected a server, click Confirm.
Click Add server.
Enter the details for the new Detection server. Note that the fields are automatically populated with the information of the template server, with exception of Hostname and IP, which you must define for the new server.

The following table includes more information about each field.
Detail name
Description
Hostname
The server name, for example: server-tr-1.
IP
The server IP, for example: 1.1.1.1.
Netmask
The server netmask. For example: 255.255.255.0.
Gateway
The server gateway, for example: 1.1.1.254.
DNS 1
The DNS server IP, for example: 8.8.8.8.
DNS 2
The second DNS server IP, if one exists. For example: 8.8.8.8.
Datastore
The name of the VM data store.
Template
The name of the server template for each of the VMs (the template imported when you deploy and configure the servers).
Customization
The name of the customization created previously.
VMhost
The name of the ESXi server in the cluster. We recommended not to choose the same VMhost as your existing server, for load balancing purposes.
VMnetwork
The name of the VM network in the ESXi cluster.
After you enter the server details, click Submit.
Note
Currently, you can only add one Detection server at a time.
Review the server details, and click Confirm.
The Found Pending Detection Details screen appears with the new Detection server name and a message that the server is not yet deployed.

Select the checkbox of the server you added, and click Configure. You also have the option to click Delete to delete the server details and undo the process.
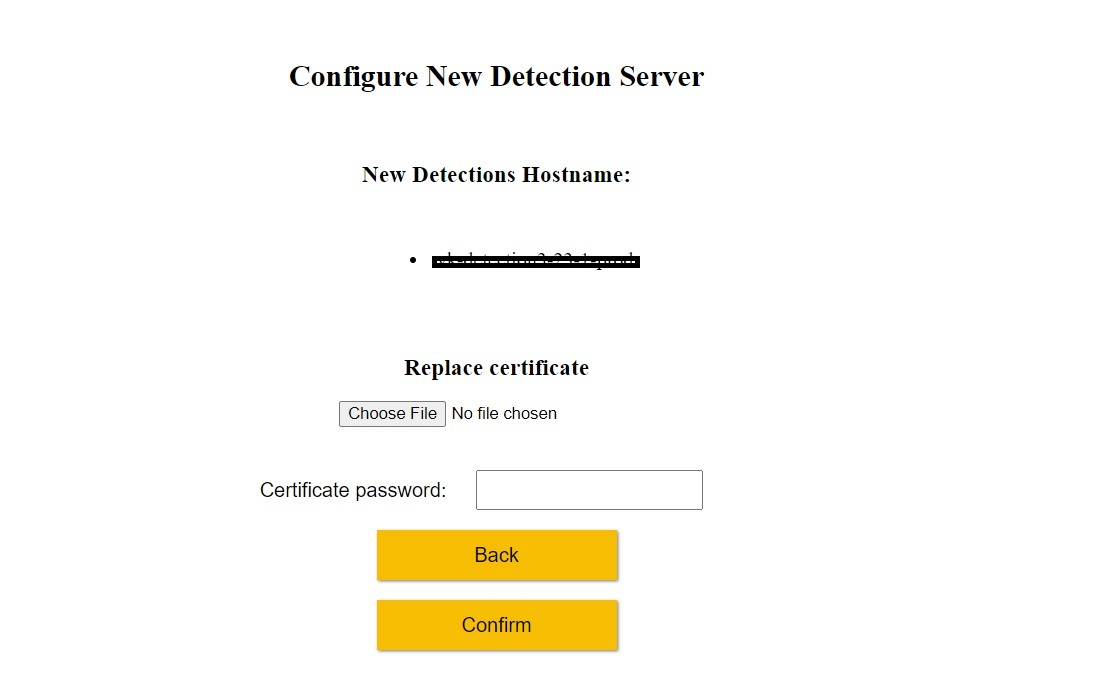
Note
Attaching the global.jks certificate is mandatory.
Result
The above configuration will result in one of the following:
If the process was successfully completed, the server was added to your environment and you can access it through the Cybereason UI.
If the process was completed but an unexpected issue occurred, the system will display a warning message. For example, if you used a faulty certificate. In this scenario, click the return to error button to re-run the process from the point where it failed.
If a fatal error occurred and the process was not completed, the system will display an error message. In this scenario, fix the issue that caused the error, redeploy your servers, and run the process again.