Configure SSO
This procedure describes how to configure SSO for Cybereason On-Prem version 23.1.
Prerequisites:
Complete Cybereason Deployment and Sanity Checks.
Replace Configuration Management Server Certificate. See Replace configuration management server certificate.
Replace Webapp UI Certificate. See Install certificates.
Retrieve Domain Controller FQDN and IP.
Allow required communication from Configuration Management Server to DC (Port 636).
- Retrieve Bind and Users DN (Distinguished Name) + Password.
See How to view OU DN.
Example: OU=Users,OU=Company_1OU,DC=Company_1,DC=internal
Configure DNS Server with Webapp and Configuration Management Server FQDN.
Set the DNS Server of the Configuration Management Server to the LDAP Server (Domain Controller) in the Deployment CSV.
Enable and Configure SSO
Log in to the Configuration Management Server via https://cfg-mgmt-ip.
Click Maintenance.
Click SSO Configuration.
Enter the Domain Controller Information.
Toggle on Enable SSO.
- Click Confirm. A job will run to configure Keycloak and enable Webapp Server SSO Login.
Follow the /var/log/ansible.log in the Configuration Management Server to see the progress.
Verify there are no errors in ansible.log or Configuration Management UI.
- Log in to the Keycloak UI via https://cfg-mgmt-dns:10443.
Click Administration Console.
Login Credentials: admin/cybereason
Click User Federation.
Click Add Ldap providers.
- Enter the following information:
UI display name
Connection URL: ldaps://<DC-URL>:636
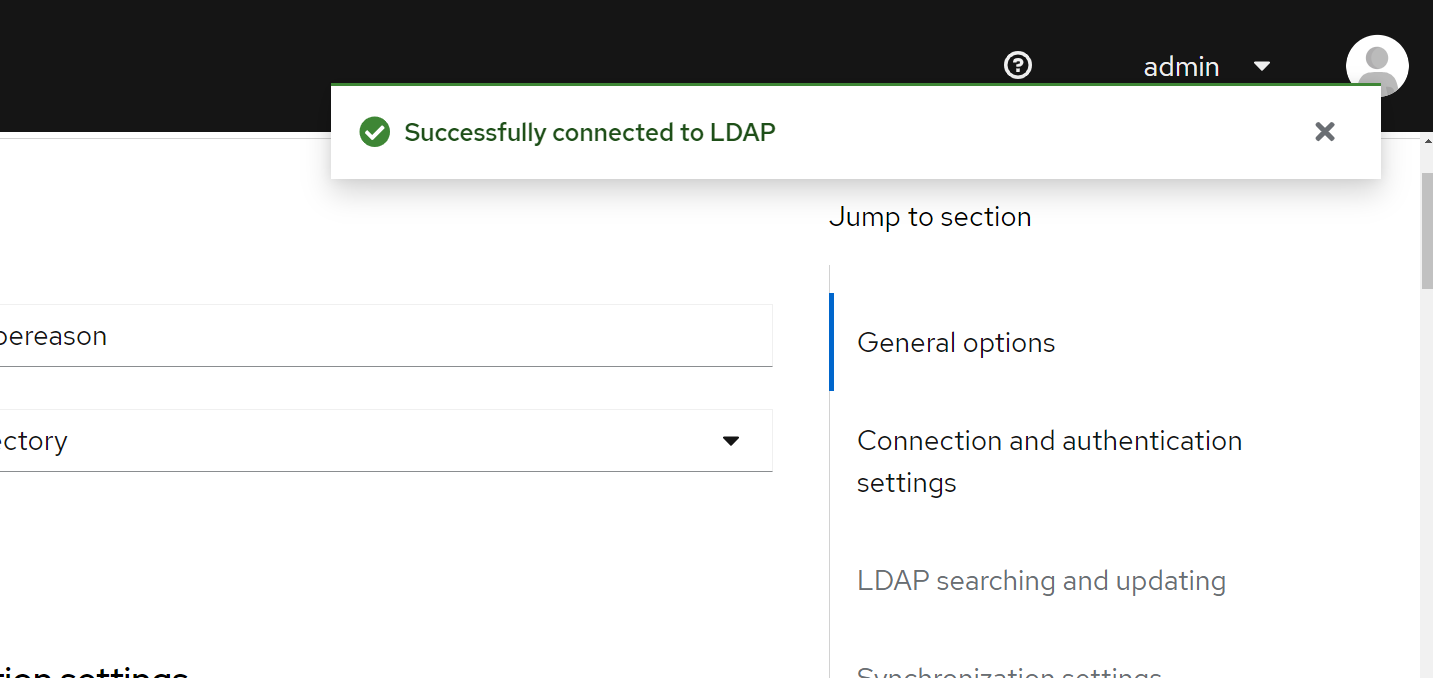
Click Test Connection to verify connectivity to the DC.
Check for successful output on the top right:
Bind DN (The details that were retrieved from step 6 in the Prerequisites above)
Bind credentials.
Click Test authentication.
Check for successful output on the top right.
Set edit mode to READ_ONLY
Users DN.
Click Save.
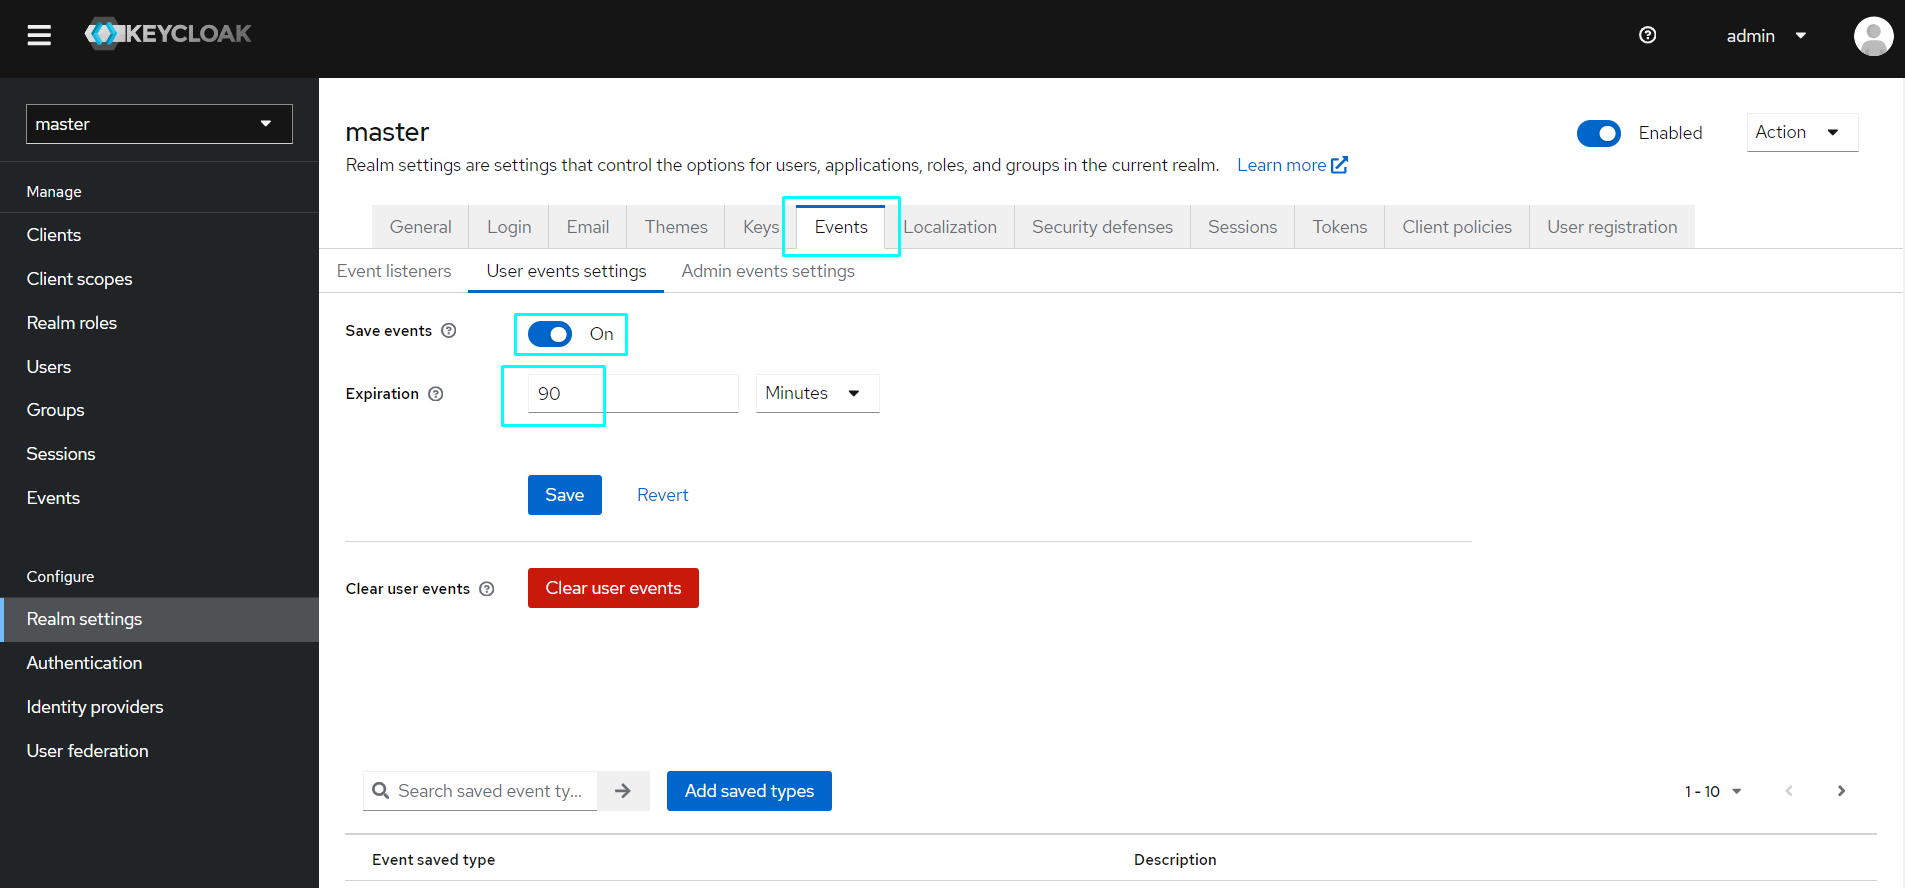
- Configure Realm Event Settings:
Click Realm Settings on the bottom left corner.
Click the Events tab.
Click the User events settings tab below.
Toggle on Save events
Set Expiration to 90 Days.
Sanity checks
In the Keycloak UI, select Users (on the left hand side of the screen).
- Search for a user in your Active Directory.
If the user is visible, AD is connected successfully to the relevant group.
Login to the Webapp UI via DNS: https://webapp-dns.
Login with the admin user.
Click the top-left button > Users.
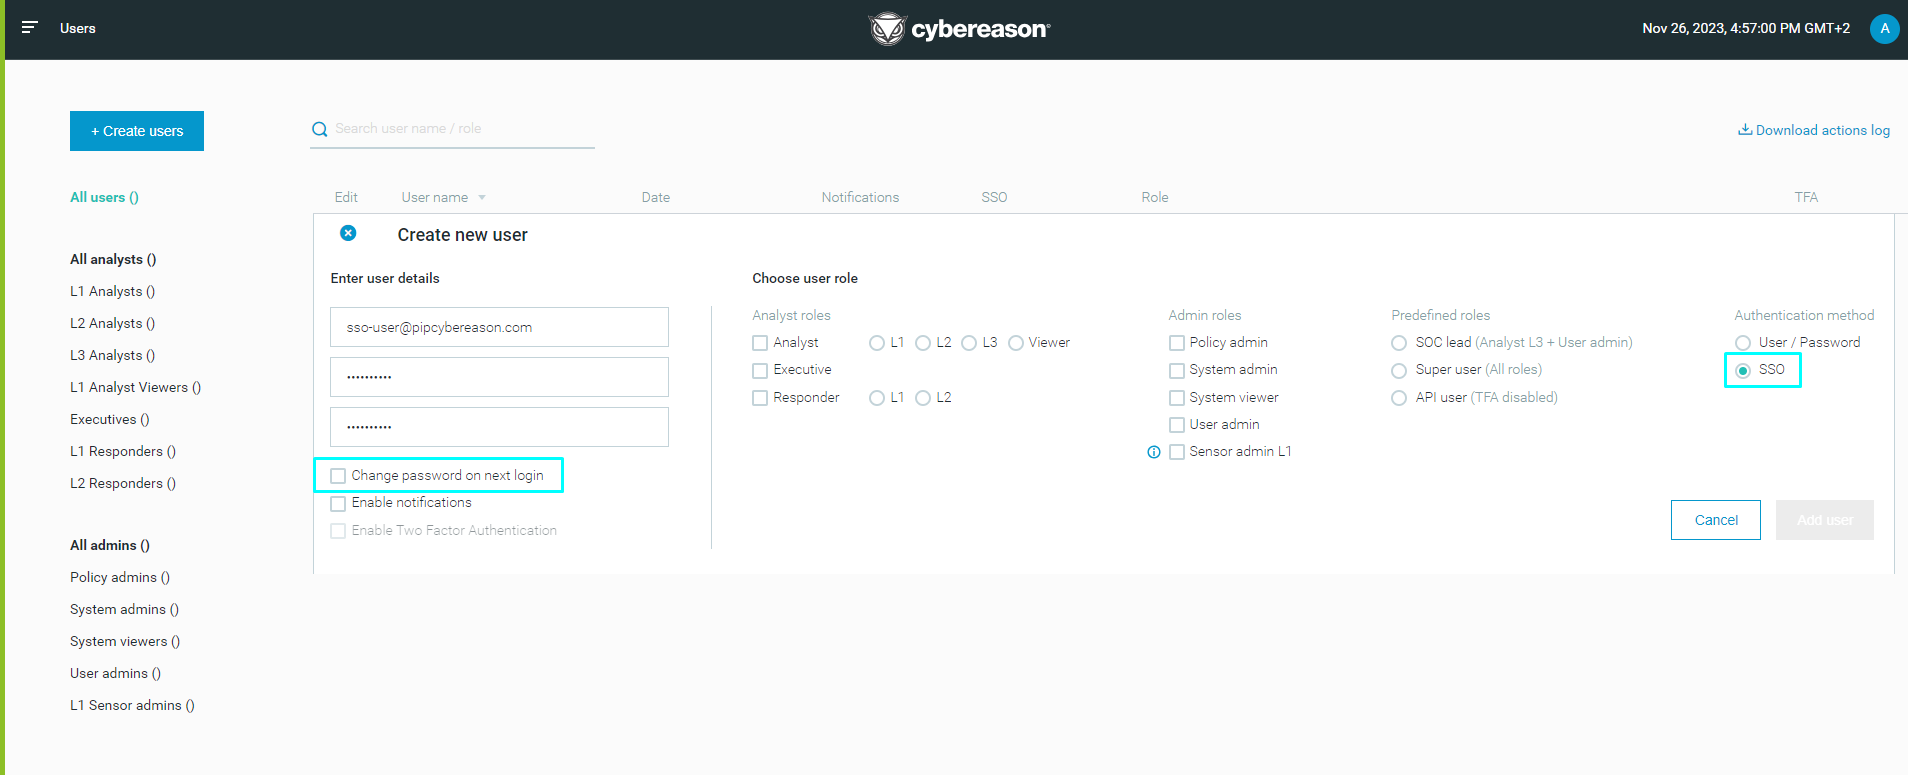
- Click Create users and enter the following information:
Email (desired Active Directory user email).
Password (random password for local login).
Confirm Password.
Uncheck Change password on next login.
Choose Role/Roles.
Select Authentication method: SSO.
Click Add user.
Click the top right button > Logout.
- In the Webapp Login Page, click Sign In with SSO at the bottom of the screen.
You will be redirected to the Keycloak Sign-In Page.
Insert your Active Directory email from step 6 and your Domain Password.
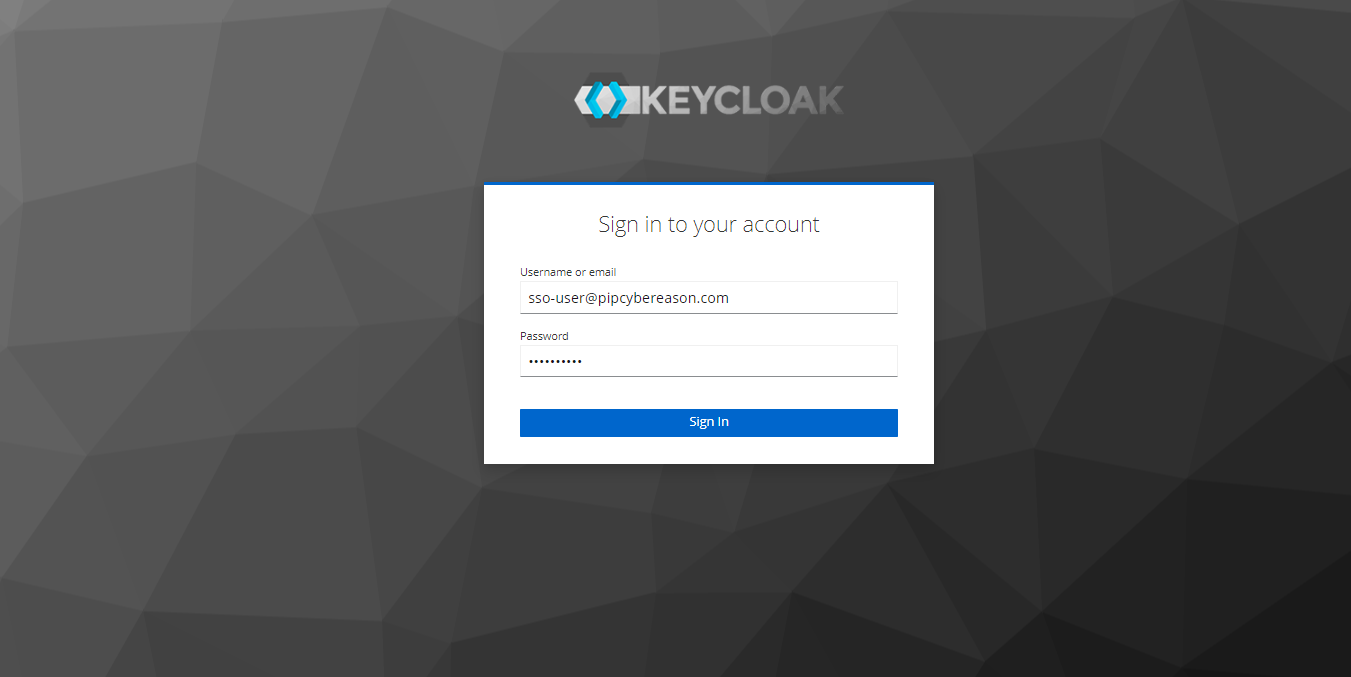
You should now be logged in to the Webapp UI via SSO.